
Hunting Gear
Building Arrows for Western Big Game

Building Hunting Arrows | Element Archery
For years I’ve shot the same arrow setup and as of late I’ve been contemplating changing that arrow setup. With the recent trend and growing awareness of increasing an arrows FOC and the benefits that it brings I’ve decided to change my arrow set up this season to increase arrow weight and achieve a much more desirable arrow FOC.

What is Arrow FOC and Why is it Important?
The acronym FOC stands for front of center and it is the percentage of an arrow’s total weight that is in the front half of the arrow. The more weight that is in the front half of the arrow the higher it’s FOC will be. An arrow with a higher FOC will stabilize the flight of an arrow and increase its downrange accuracy. It’s one of the key elements in shaping the trajectory of the arrow. The ideal percentage for FOC for hunting is between 10%-15% but some hunters go even higher. It all depends on how your setup tunes and the desired results you’re attempting to achieve.
In this short segment, we share and explain the arrow and components chosen to achieve my arrow FOC.
Below is the list of Tools and Compenents used:
- 100-grain weighted insert with a 100-grain weighted point.
- AAE Max Stealth Vanes– One vane is 2.6″ long X .50″ high and weighs 9.2 grain +/- .5 grains
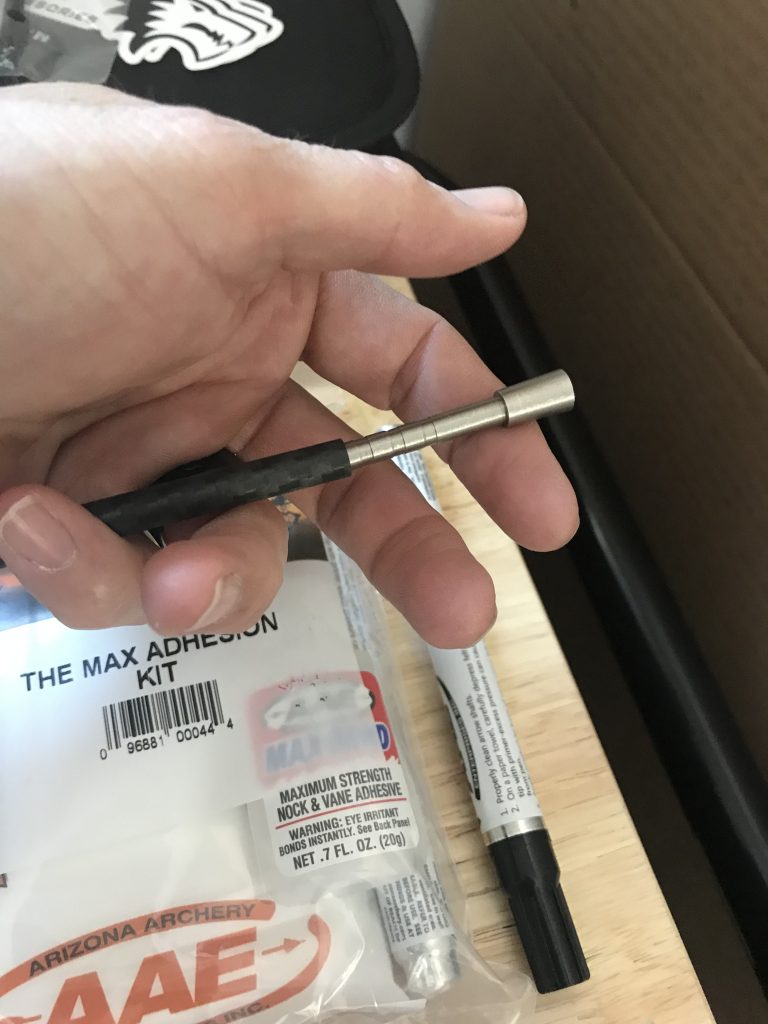
- AAE Max Bond– is a high-viscosity liquid that is easy to work with and penetrates well when using our tough Elastimax material. Whether you are fletching carbon or aluminum, this is the toughest glue available.
- AAE MAXweld Primer Penn– creates an amazing “Weld” between any Max material vane and the archers chosen arrow.
- AAE Max Clean Arrow Wipes– are a quick and easy method of cleaning arrow shafts for proper fletching adhesion.
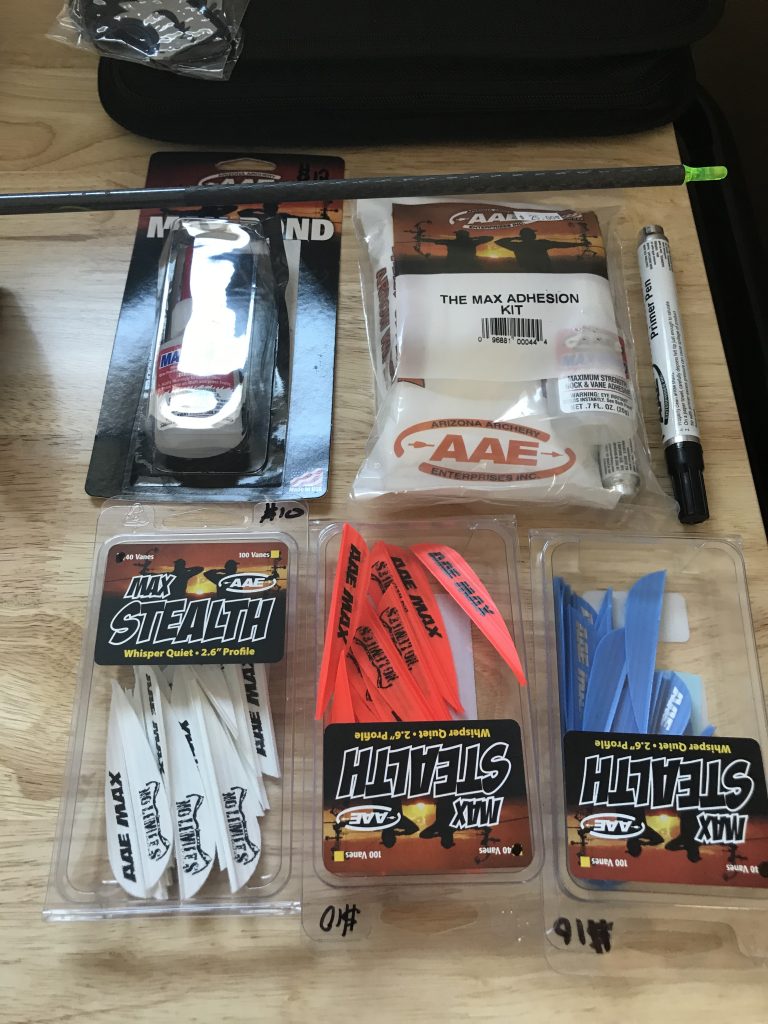
- Easton Quickbond Insert Adhesive– Impact resistant and ready to shoot in about 30 minutes.
- Bitzenburger Fletching Jig– This fletching jig is made of long lasting die cast alloy. There are no plastic parts and it is built to last. Some say it is “the last jig you will ever buy.” I fletched mine with a right helical.
- Nock Out Lighted Nocks– I shoot the Contender lighted nock that weighs around 21-25 grains depending upon the size of the bushing used.
- Arrow Spinner- Checks straightness of shaft, nock, insert, and point. Also, it is the easiest way to check broadhead straightness.
- Scale- to measure arrow components and the finished product.
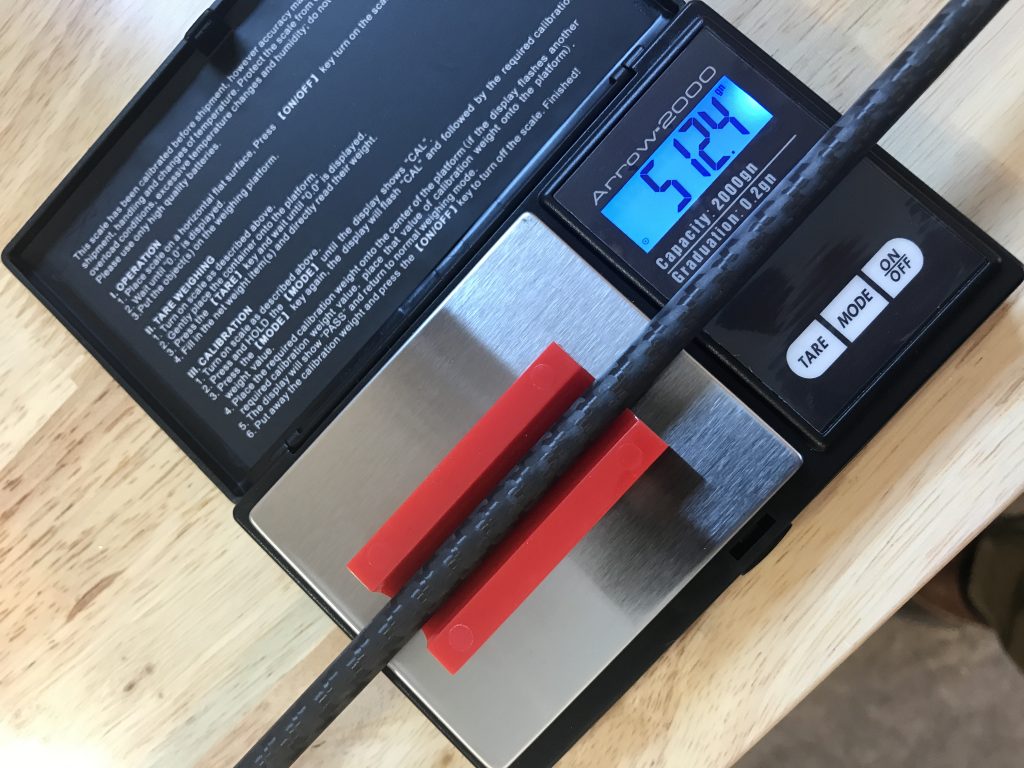
You can see how I like to build and customize arrows, the next step in the process will be shooting and adjusting my sight tape to find out how these higher FOC arrows perform.
Source link: https://www.purehunting.com/building-arrows-for-western-big-game/ by Pure Hunting at www.purehunting.com
Hunting
Capturing the Hunt: Using Trail Cameras for Turkey Hunts

In the excitement of a successful hunt, it’s easy to forget to capture the moment with a photo. This can be a missed opportunity, especially for someone who always carries camera gear on hunts. But there’s a simple and effective way to ensure you get those memorable shots: using trail cameras.
The Role of Trail Cameras

Trail cameras have become essential tools for many hunters, not just for scouting but also for capturing the action during the hunt. Setting up a trail camera can provide you with extra memories and a unique perspective on your hunt. If you already own a camera, it’s a cost-effective way to enhance your hunting experience.
Choosing and Setting Up Your Camera

Whether you’re using traditional cameras or cell cameras, most can be set up to function like a traditional trail camera. This means you don’t need to activate your data plan if you’re using cell cameras. The key is in selecting the right settings.
Camera Settings
- Video Duration: Opt for the longest video clip your camera offers. This ensures that even if a hen arrives before the longbeard, you’ll still capture the entire sequence.
- Recovery Time: Set this to the shortest possible duration. You want the camera ready to record a new clip immediately.
- Resolution: Choose the highest video quality available. This will provide the best footage, assuming you use a large-capacity SD card.
- Trigger Sensitivity: Adjust based on your environment. In a windy field, use the lowest sensitivity to avoid endless clips of moving vegetation. On calm days or in confined spaces, increase the sensitivity to ensure the camera captures all movement.
Positioning Your Camera

One common mistake is placing cameras too close to the decoys. Turkeys tend to focus on the jake decoy, so your camera placement should account for this. Positioning the camera 10 to 20 feet away from the decoys is often ideal. This distance allows you to capture the entire bird as it approaches, rather than just its feet.
Consider the Approach Path
- Anticipate Entry Points: Aim your camera in the direction you expect the turkeys to approach from. This ensures a better overall shot.
- Mind the Sun: Position the camera to avoid sun flares on the lens, which can disrupt your footage.
- Camouflage: While turkeys don’t seem to mind trail cameras, it’s wise to reduce the chances of reflection or glare. Pile up some debris around the camera to help it blend in with the environment.
Benefits of Trail Camera Footage

Using a trail camera is a straightforward way to capture high-resolution video of your hunt without investing in additional gear. This method allows you to focus on the hunt itself while the camera takes care of recording the action.
Practical Tips for Use
- Quick Setup: Setting up a trail camera is quick and easy. Even when running and gunning and changing spots frequently, it takes only seconds to set up the camera from your pack.
- Capture Every Moment: The effort pays off when you get high-quality footage of a strutter attacking your decoys. These videos provide lasting memories and a unique view of the hunt.
Incorporating trail cameras into your turkey hunts can enhance your experience and provide invaluable memories. By choosing the right settings, positioning the camera thoughtfully, and blending it into the environment, you can capture the excitement of the hunt without missing a beat. This approach not only adds an extra layer of enjoyment to your hunting trips but also ensures you have a visual record of those special moments.
Do you have any tips for trail cameras? Leave your thoughts in the comments below.
Archery
Can You Hunt Enough To Feed Your Family For YEARS?

As masters of the hunt, you understand the thrill and satisfaction of providing for your family through your skills in the wilderness. However, relying solely on hunting and trapping may not be enough to ensure your family’s well-being in times of crisis. The stark reality is that whatever you’re able to hunt may not be sufficient to feed yourselves and your loved ones. At Survival Cave Food, we recognize the importance of having a reliable backup supply to augment your hunting efforts and provide peace of mind during emergencies.


Hunting
Rangefinders: Advanced Techniques for Enhanced Hunting Success

The utility of rangefinders in hunting extends far beyond their fundamental purpose of determining accurate distances for shooting. While commonly associated with aiding marksmanship, rangefinders can be leveraged in innovative ways to optimize hunting strategies and increase efficiency in the field. For both novice and seasoned hunters alike, mastering advanced techniques with rangefinders can significantly enhance the overall hunting experience. In this comprehensive guide, we delve into two distinct but invaluable techniques for utilizing rangefinders to their fullest potential.
Strategic Stalking: Planning with Precision

One of the most profound realizations among hunters is the strategic value of rangefinders in planning stalks. Beyond mere navigation toward the prey, identifying optimal shooting positions can be a game-changer in hunting success.
Consider a scenario where a hunter spots a deer bedded downhill, with a prominent boulder positioned behind it. Traditional wisdom dictates estimating the distance to the deer and planning a route accordingly. However, the innovative use of a rangefinder elevates this approach to a new level of precision.
By ranging both the deer and the boulder, the hunter gains critical insight into the landscape’s geometry. Suppose the deer is determined to be 500 yards away, while the boulder registers at 547 yards. This data reveals that reaching the boulder would position the hunter approximately 47 yards from the deer. Armed with this knowledge, the hunter can strategize the approach, confident in the understanding of potential shooting distances.
Dynamic Distance Assessment: On-the-Move Tactics

In dynamic hunting scenarios where targets are mobile or their exact locations are uncertain, rangefinders emerge as indispensable tools for real-time distance assessment. Rather than relying on fixed objects for reference, hunters can adopt a proactive approach by utilizing rangefinders while on the move.
Imagine stalking a buck actively rutting in dense woodland. In such scenarios, maintaining situational awareness and adaptability are paramount. Here, the continuous use of a rangefinder proves invaluable.
Equipped with a rangefinder, the hunter can seamlessly integrate distance assessment into their movements. With each step, the hunter periodically scans the terrain ahead, utilizing the rangefinder to gauge distances to potential targets. This streamlined approach minimizes unnecessary movement and ensures readiness for decisive action.
In the dynamic and unpredictable world of hunting, mastery of advanced techniques with rangefinders can be a game-changer. By embracing strategic stalking and dynamic distance assessment, hunters can optimize their hunting strategies and increase their chances of success in the field.
Whether planning meticulous stalks or maintaining situational awareness on the move, the versatility of rangefinders empowers hunters to navigate diverse hunting scenarios with confidence and precision. As hunters continue to explore the boundless possibilities of rangefinder application, the pursuit of the game becomes not just a challenge, but a deeply rewarding adventure fueled by innovation and expertise.
Do you have any tips for using rangefinders? Leave them in the comments below.